Easy Guide To Enjoy Google Music On Kindle Fire
Some of us might not be aware that Kindle devices can be used as well for playing music. One example of that is the Kindle Fire device which can serve as a music player to play tracks and playlists. Among the Kindle devices released by Amazon, Kindle Fire gained the greatest number of users. So, to share with you another good experience with this device, consider playing Google Music on Kindle Fire and enjoy its music streaming features to the fullest. In the post below, you will know how to save tracks from Google Play Music and how to play them on Kindle Fire.
Contents Guide Part 1. How to Download Google Music on Your Device?Part 2. How to Play Google Music on Your Kindle Fire?Part 3. Bonus: How to Download Apple Music and Stream It on Kindle Fire?Part 4. Final Words
Part 1. How to Download Google Music on Your Device?
Google Play Music is a music and podcast streaming service and an online music locker operated by Google as part of its Google Play line of services. The service was announced on May 10, 2011. In November 2016, Google introduced the Google Home smart speaker system, with built-in support for Google Play Music. Google Play Music allowed users to upload their music in the cloud and access it on all their devices. They could also purchase songs from the music section of the Google Play store. They even allowed customers subscribed to Google Music to have access to the YouTube premium content.
Google Play Music offered all users storage of up to 50,000 files for free. Users could listen to songs through the service's web player and mobile apps. In order to enjoy Google Music on Kindle Fire, first, you have to make sure that the music is downloaded to your device.
On Mobile Phone
You can use the steps below as your guide in all kinds of mobile phone as the Google Play app has the same features for all.
- On your device, tap the icon of Google Play from your home screen in order to launch the application.
- Browse your collection until the playlist or album that you want to download comes into your sight. Select it to see the Download button. For those with a subscription, accessing the radio station is also allowed.
- Once seen, click on Download. Wait for a couple of minutes until the music files are saved.
On Computer
The steps discussed above particular to Google Music on Kindle Fire are quite different when done on computers. Check them out below.
- Start by heading to Google Play Music website on any browser available on your computer. If it requires you to sign in, provide your account credentials.
- Upon opening your account, navigate to your Music Library to see the tracks that you may download.
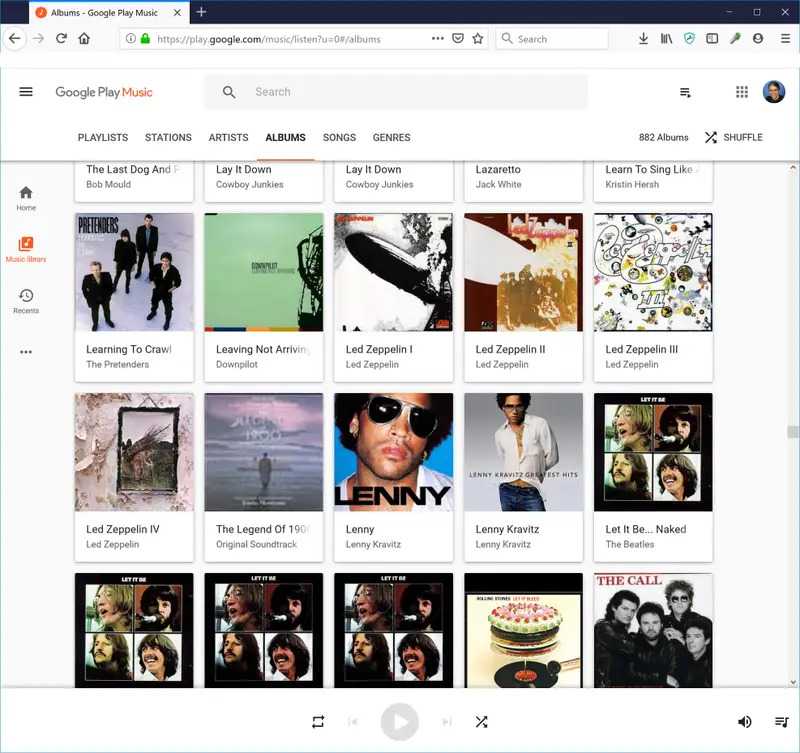
- At the top of the screen, click Albums or Songs.
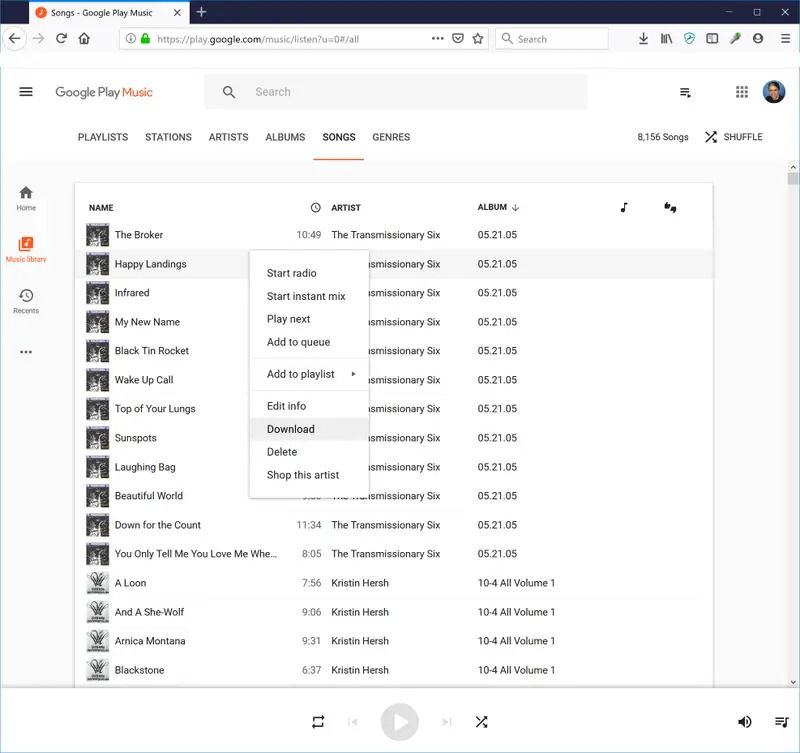
- Right next to your selected file is a three-dot button which you have to click to show the menu options. Select the Download option if you are referring to a track and Download Album if you are referring to the album.
Part 2. How to Play Google Music on Your Kindle Fire?
After downloading the playlists and albums from Google Play Music, you may now proceed with streaming Google Music on Kindle Fire. Presented below is the simplest method to try to experience Google Music on your Kindle Fire.
Via Kindle Readers
To play Google Music on Kindle Fire via Kindle readers, you must have a compatible USB cable to connect it into your computer. For your reference, you may use the same cable that your Android phone utilizes when charging. Once it is prepared, follow the steps below.
- Through a USB cable, connect your Kindle Fire to computer used.
- A few seconds after, your Kindle Fire device will show up on your computer, same as how a USB drive appears. It will be displayed under the section of removable devices. Select it once seen.
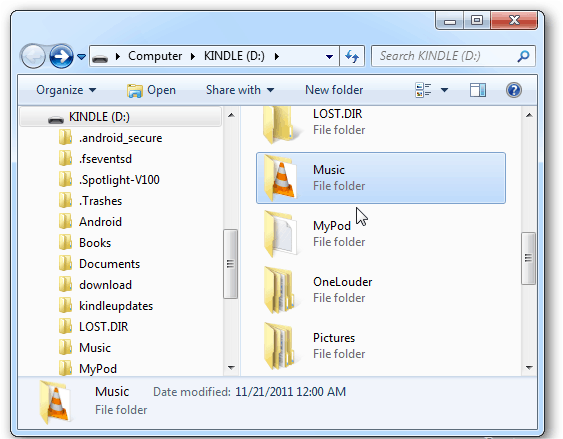
- In your Kindle device, head to Internal Storage section and then select Music.
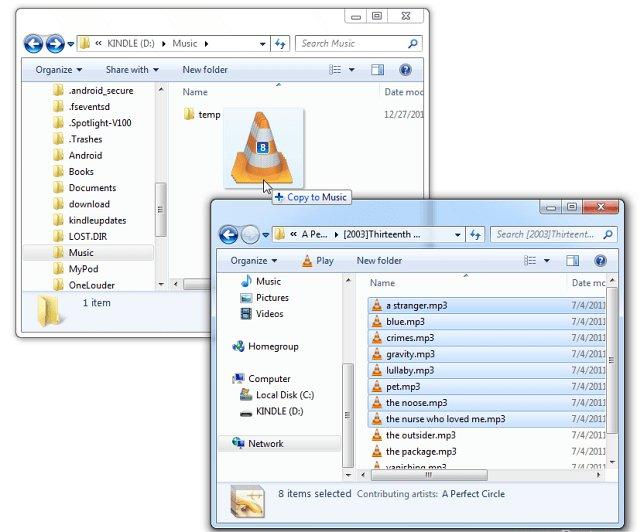
- In this Music folder, you are allowed to transfer any albums or playlists that you have downloaded from Google Play Music. Make sure that they are encoded in MP3 format to have them recognized by the player. You may either copy and paste the files or drag and drop them.
- Once all of the music files are transferred, you may now have the two devices disconnected from each other.
- Now, to finally stream Google Music on your Kindle Fire, after disconnecting open it and head to the Experimental section. This is where you’ll see the MP3 player needed for playing music. From the home screen of your device, click on Menu and then choose Experimental option.
- From here, just click Play Music or MP3 player to play the selected track.
Part 3. Bonus: How to Download Apple Music and Stream It on Kindle Fire?
Previously, we have learned about downloading Google Music on your device, along with how to stream Google Music on Kindle Fire. This time, I will share with you another great source of music tracks to stream on your Kindle. Apple Music is one of the most famous streaming platforms along with Spotify, Tidal and the like. Mainly because of its rich music collection, the service has gained a large number of users. Aside from using your subscription, there is an alternative way to download iTunes songs or Apple Music songs. But since the tracks and playlists are protected with DRM, you have to remove the protection first in order to proceed with downloading.
AMusicSoft Apple Music Converter is a great recommendation for the removal of DRM from songs as well as for download and conversion. As what was tackled above, you may use the MP3 format to access the files on your Kindle Fire. However, Apple Music files are not encoded in MP3 and they have to be converted first in order to play them. With the use of AMusicSoft, which is also capable of conversion procedures, you can have the tracks converted into supported formats. In addition to MP3, AMusicSoft Apple Music Converter can also produce the formats of FLAC, WAV, AC3, M4A and AAC.
Right after conversion, download will then proceed. Apart from your Kindle Fire, once the files are saved via AMusicSoft, you can also play these files on any player of your choice. Transferring them into multiple devices is also possible. It must be your first choice to use in the processing of the conversion of your files so you can be able to burn music from iTunes to CD on your PC. Here is how you can use AMusicSoft in saving the tracks on your local computer.
- Open any browser on your computer and go to the official website of AMusicSoft. From here, just tap the Download button right below the Apple Music Converter to get the application. Install the app and launch it once successful.
- Open the music converter and begin adding the tracks to convert by marking their respective selection boxes.

- Choose the format you want to have from the set of output formats available.

- Hit the Convert button placed at the bottom right corner of the window.

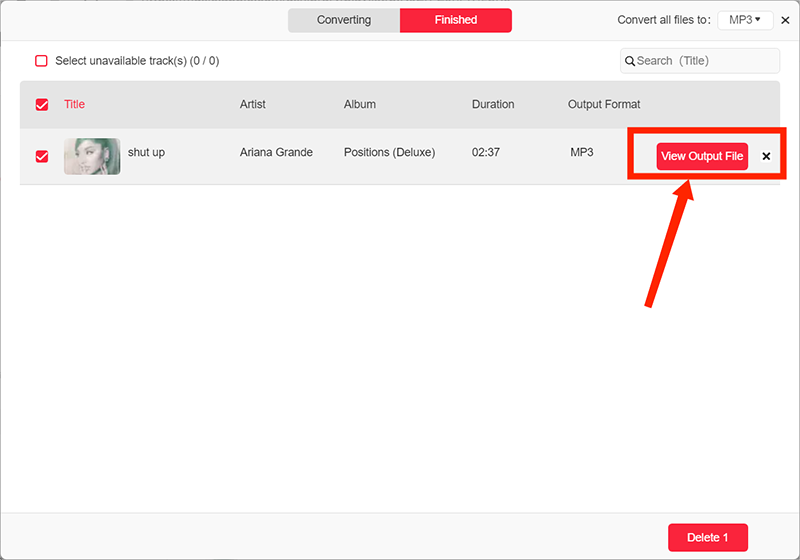
- Lastly, download the results saved in the Finished menu.
Another advantage of using AMusicSoft is its 16x faster conversion and download speed, which can shorten your waiting time until the results are out and available for streaming. So, in addition to your learnings about how to enjoy Google Music on your Kindle Fire, you may now also enjoy Apple Music on it.
Part 4. Final Words
Streaming Google Music on Kindle Fire is just easy as long as you have a USB cable and all the resources needed in advance, such as Google Play Music tracks that are encoded in MP3 format. Once you had these things prepared, just follow the given guide on how you can transfer the tracks into the player. On the other hand, use AMusicSoft Apple Music Converter if you also want to enjoy Apple Music not only on Kindle Fire but on other devices as well.
People Also Read
- How To Copy iTunes Library To External Drive For Backup
- Best Tips To Fix Apple Music Not Working On CarPlay
- “Does Google Home Work With iTunes” – Yes Or No?
- Three Best Ways To Enjoy Apple Music On Firestick
- How To Put A Song On Repeat On Apple Music?
- Why Does My Music Stop When I Open Facebook (Explained)
- Learning How To Add Music To Capcut (A Complete Guide)
 About The Author
Robert Fabry is an ardent blogger, and an enthusiast who is keen about technology, and maybe he can contaminate you by sharing some tips. He also has a passion for music and has written for AMusicSoft on these subjects.